Mount Mayon, with its perfectly symmetrical cone shape, stands as one of the most iconic and photogenic volcanoes in the world. Nestled in the Philippines, its dramatic silhouette and vibrant surroundings create an irresistible subject for photographers — whether you’re a professional or an enthusiastic traveler looking to capture breathtaking shots. To make the most of your visit and return home with stunning images, understanding the nuances of lighting, angles, equipment, and timing is key. In this guide, you’ll find practical tips for photographing Mount Mayon that will help you create memorable travel photos that truly bring this majestic peak to life.
Best Time of Day for Photos
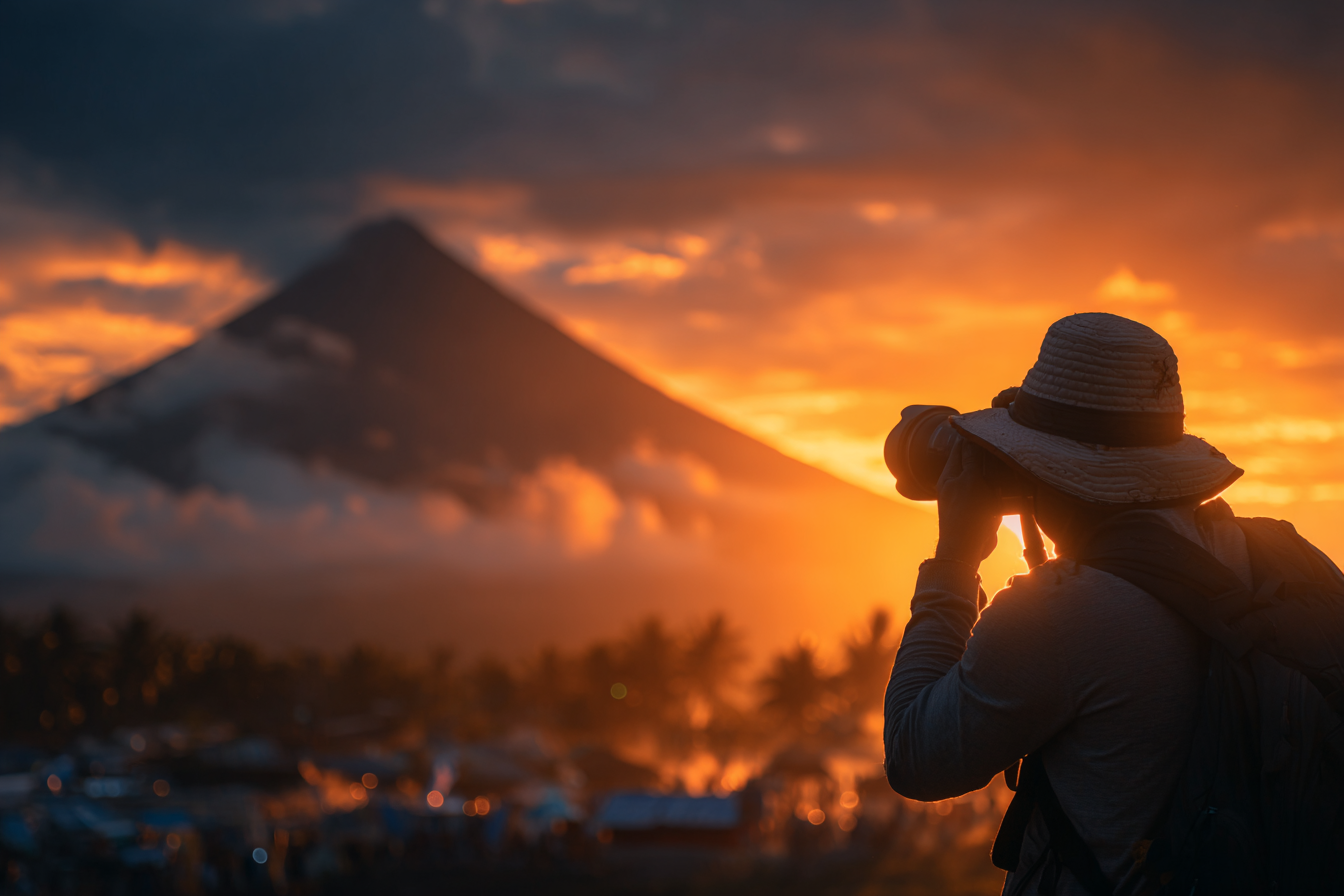
Lighting is everything in photography, and when it comes to Mount Mayon, the time of day can dramatically affect how the volcano looks in your frame. The golden hours — around sunrise and sunset — offer the soft, warm light that illuminates the volcano’s slopes beautifully, enhancing its contours and colors without harsh shadows. Early morning, especially, tends to offer clearer skies since the weather is generally calmer, allowing the volcano’s symmetrical shape to stand out sharply against a backdrop of soft pastel skies.
Midday shots can sometimes be challenging due to the intense, direct sunlight which can flatten the landscape and wash out colors. However, if the skies are a brilliant blue, midday creates a vibrant contrast between the green foothills and the cloudless sky. Just be sure to use a lens hood or polarizing filter to reduce glare.
As the sun sets, Mayon often presents dramatic scenes with changing cloud formations around its peak, perfect for moody and artistic photographs. Night photography enthusiasts might also enjoy capturing Mayon’s silhouette against starry skies or the subtle glow of a full moon.
Equipment Recommendations
Having the right gear can elevate your Mount Mayon shots from good to exceptional. Here’s what you might consider bringing along:
- Camera: A DSLR or mirrorless camera with manual controls offers flexibility in adjusting exposure, focus, and depth of field. However, modern smartphones with good cameras can also yield great results for casual photographers.
- Lenses: A wide-angle lens (16-35mm range) is ideal for capturing the vast landscape including Mount Mayon and its surroundings. A telephoto lens (70-200mm) comes in handy for shooting the volcano’s details or compressing the distance between foreground elements and the mountain.
- Tripod: Essential for sharp images during low-light conditions such as sunrise, sunset, or night photography.
- Filters: A polarizing filter reduces glare and enhances sky colors, while a neutral density (ND) filter lets you shoot long exposures to capture movement in clouds or water features near the volcano.
- Extra Batteries and Memory Cards: Always be prepared, especially if you plan to shoot extensively or be outdoors for long hours.
Angles and Compositions
Mount Mayon’s nearly perfect cone shape invites creative compositions. Instead of centering the volcano in every photo, try to experiment with different angles to add interest and narrative:
- Rule of Thirds: Place Mayon off-center to create balanced and dynamic compositions, allowing room for the surrounding landscape or sky.
- Foreground Interest: Use elements like colorful flowers, traditional houses, or farms in the foreground to add depth and context to your images.
- Reflections: Look for nearby lakes, ponds, or calm water that mirror the mountain, creating stunning symmetrical reflections.
- Frames: Frame the volcano with natural elements like tree branches, arches, or even local signage to create a window effect that draws the viewer’s eye inward.
- Multiple Perspectives: Don’t just settle for the well-known viewpoints. Explore various spots around the volcano, from low vantage points near the base to elevated positions that show Mayon’s scale and grandeur.
Using Natural Light and Weather Conditions
Mount Mayon is dynamic, and weather plays a crucial role in the mood and tone of your photos. Clouds frequently gather near the peak, creating opportunities for atmospheric shots where the volcano peaks through mist or sits enveloped in fluffy white clouds. Overcast days can soften shadows and reduce contrast, suitable for capturing the lush greenery around Mayon.
Clear skies highlight the volcano’s symmetry, while approaching storms can add dramatic skies and intense lighting contrast. Pay attention to the local weather forecast, and try to time your shoot around these shifting conditions to capture the perfect moment.
Also, remember that air pollution and haze can affect visibility and photo clarity. Early mornings often have the best air quality, making them optimal for sharp images.
Photo Spots Accessibility
There are several accessible spots around Mount Mayon ideal for photography. Here are some popular locations and tips for each:
- Lignon Hill Nature Park: This viewpoint offers panoramic views of Mayon along with the cityscape of Legazpi. Great for sunrise or sunset shots.
- Daraga Church: From this historic site, you can frame the volcano with classic Spanish colonial architecture in the foreground, an excellent way to combine cultural and natural beauty.
- Cagsawa Ruins: Perhaps the most famous photography location; the church ruins partially buried by a past eruption alongside the towering Mayon offer a dramatic and evocative composition.
- Local farms and villages: Venture into areas around the foothills where you might capture authentic rural life with the volcano as a backdrop.
Most of these spots are reachable by car or short hikes and have facilities or guides available for help. Make sure to check for any restrictions or safety advice, especially during periods of volcanic activity.
Editing and Sharing Your Shots
Post-processing can enhance your Mount Mayon images, bringing out colors, contrast, and details that may be less pronounced in the original photos. Use editing software like Adobe Lightroom or mobile apps such as Snapseed to:
- Adjust brightness and contrast for better depth.
- Enhance the vibrancy and saturation to highlight the lush landscape tones.
- Sharpen details, especially in the volcano’s rugged textures.
- Crop for better composition if needed, maintaining the strong visual lines of the cone.
When sharing online, use geotags and relevant hashtags to connect with other photography enthusiasts and travelers. Stories about your experience photographing Mount Mayon can inspire others and preserve your cherished memories in a wider community.
Bringing Mount Mayon Home Through Photos
Photographing Mount Mayon is more than just capturing an image; it’s about immortalizing the volcano’s striking beauty and the serene environment that surrounds it. With the right timing, equipment, and creative vision, you can create photos that not only showcase Mayon’s perfect cone but also tell a story of your journey and experience.
Every shoot offers new challenges and opportunities — from battling the early dawn chill to patiently waiting for the perfect cloud formation. Embrace these moments, and your photos will reflect the awe and admiration inspired by this natural wonder. Whether displayed in your home, shared with friends, or kept as a personal travel journal, your images of Mount Mayon will forever bring the spirit of this magnificent volcano into your life.


