Embarking on the trek to Everest Base Camp is a dream for many adventure enthusiasts. Understanding the route beforehand not only prepares you physically but also mentally for the demanding yet incredibly rewarding journey. A detailed route map, combined with insights into each stage of the trail, key landmarks, and elevation changes, can make your expedition smoother and more enjoyable. This comprehensive guide will walk you through the Everest Base Camp trek route from Lukla, highlighting major rest points, distances, optional detours, and smart navigation tips to help you stay on track and safe throughout your adventure.
The Route from Lukla to Everest Base Camp
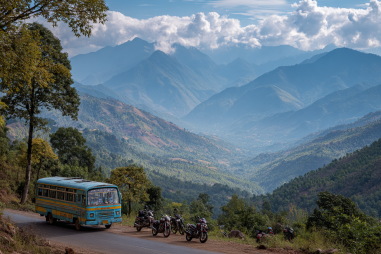
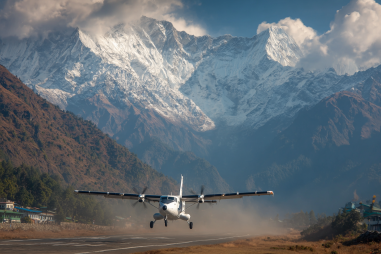
The journey to Everest Base Camp traditionally begins in the bustling mountain town of Lukla, which is reachable by a short but thrilling flight from Kathmandu. Lukla sits at an elevation of 2,860 meters (9,383 feet) and serves as the trekking gateway to the Everest region. From Lukla, the trail heads northeast along the Dudh Kosi River valley, ascending gradually through beautiful Sherpa villages, rhododendron forests, and rugged mountainous terrain.
The route is not just a trek but an immersive cultural experience, passing through villages with rich Buddhist traditions. You’ll hike through Sherpa settlements like Phakding, Namche Bazaar, Tengboche, Dingboche, and Gorak Shep before finally reaching the breathtaking Everest Base Camp at approximately 5,364 meters (17,598 feet).
Major Villages and Rest Points Along the Way
Along the Everest Base Camp trail, several villages offer excellent opportunities for rest, acclimatization, and experiencing local culture:
- Phakding (2,610m): The first village after Lukla, a great place for an overnight rest.
- Namche Bazaar (3,440m): The largest settlement en route, renowned as the Sherpa capital, it’s critical for acclimatization days and shopping supplies.
- Tengboche (3,860m): Famous for the Tengboche Monastery, a spiritual hub with stunning mountain views.
- Dingboche (4,410m): The site for further acclimatization with magnificent vistas of Ama Dablam and surrounding peaks.
- Gorak Shep (5,160m): The last stop before Everest Base Camp, often used to rest before the final push.
These villages offer teahouses and lodges where trekkers can rest, enjoy local meals, and acclimatize to higher altitudes, a vital part of trekking safely.
Trail Distances and Elevation Profiles
Knowing the distances and elevation changes can help in planning your daily trek and understanding the physical demands of the route. Below is a typical breakdown of the trail segments:
- Lukla to Phakding: ~8 km, gentle ascent following the Dudh Kosi River.
- Phakding to Namche Bazaar: ~11 km, steeper climbs with suspension bridges and panoramic views.
- Namche Bazaar to Tengboche: ~10 km, moderate ascent through forests and past Tengboche Monastery.
- Tengboche to Dingboche: ~10 km, with gradual elevation gain through alpine terrain.
- Dingboche to Lobuche: ~7 km, more challenging uphill trek into higher altitude zones.
- Lobuche to Gorak Shep: ~8 km, again gaining altitude amidst glacial landscapes.
- Gorak Shep to Everest Base Camp and back: ~12 km round trip, with the final ascent on rocky terrain.
Elevation gains are significant on this route, so pacing yourself and allowing extra time for rest and acclimation days is crucial.
Optional Side Treks and Viewpoints
While the primary route takes you directly to Everest Base Camp, several memorable side trips allow trekkers to explore more of the Everest region’s natural beauty and culture:
- Gokyo Lakes: Located west of the main trail, this detour offers beautiful turquoise lakes and panoramic views from Gokyo Ri peak.
- Kala Patthar: Often visited as a side trek from Gorak Shep, Kala Patthar (5,545m) provides the best vantage point for viewing Everest and the surrounding peaks, especially at sunrise.
- Chukung Valley: For those looking to explore lower-altitude valleys, Chukung provides stunning views and options to hike higher for further acclimatization.
These excursions add variety to the trek, offering unique perspectives and often less crowded paths.
Navigational Tips and Trail Markers
The Everest Base Camp trail is generally well-marked with prayer flags, cairns (stone piles), and signposts showing distances to the next village. Most trekkers navigate along established paths rather than needing complex navigation tools. However, certain sections can be confusing, especially in fog or bad weather. Here are some tips to stay oriented:
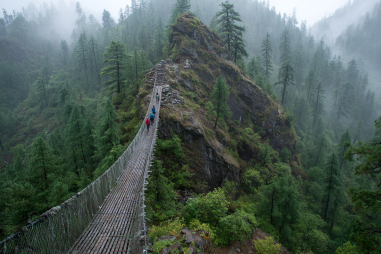
- Follow bridges and crossings carefully—most trails cross the Dudh Kosi river multiple times.
- Look out for stone markers painted with red or yellow arrows indicating the route.
- Use local landmarks such as monasteries and villages to check your progress.
- Pay attention to altitude signs placed in some sections which reference elevation.
Going with an experienced guide can take the guesswork out of navigation, especially for first-time trekkers.
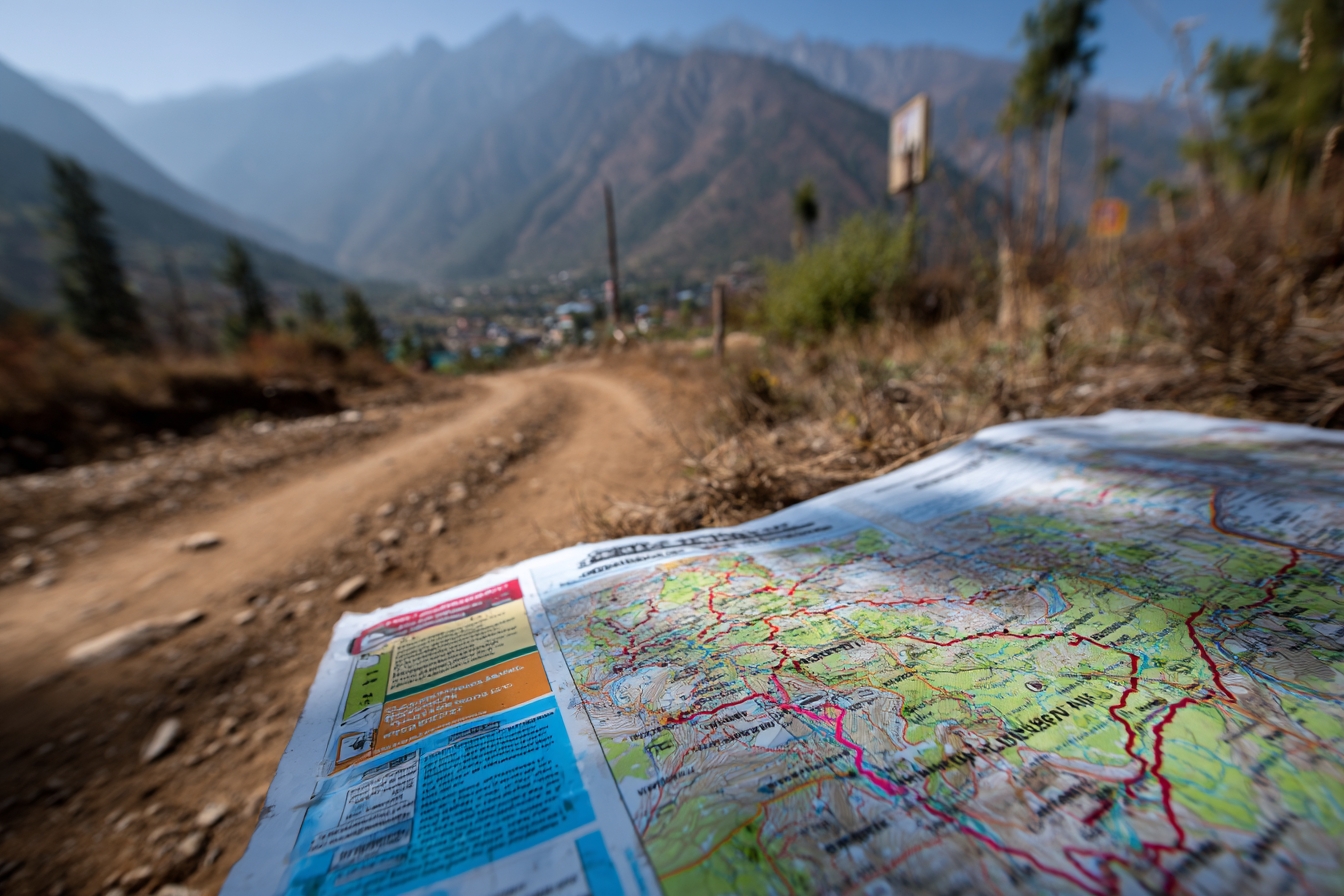
How to Use Maps and GPS Technology
Even though the Everest Base Camp route is well-traveled, carrying a physical map and using GPS technology can greatly enhance your trekking experience and safety. Here are some practical ways to use them:
- Physical maps: Purchase or download detailed trekking maps of the Everest region before your journey. These maps show elevation profiles, major rest points, water sources, and alternate routes.
- GPS Devices and Apps: Smartphones with GPS trekking apps (such as Gaia GPS, Maps.me, or ViewRanger) can track your exact position and progress on the trail. Make sure you download maps for offline use, as cellular service is spotty in many sections.
- Portable Chargers: Long battery life is essential—carry power banks to keep devices charged.
- Sharing your Location: Inform your trekking companions or guides of your planned route and expected check-in times, using GPS trackers if possible.
Combining traditional map reading with modern GPS tracking makes navigation straightforward and offers an added layer of security.
Safety Considerations Related to Route Choice
Selecting the appropriate route and pace is fundamental to staying safe during your Everest Base Camp trek. Altitude sickness remains the biggest risk, so acclimatizing properly—especially at Namche Bazaar and Dingboche—is crucial. Here are some important safety tips:
- Choose a route that allows rest days for acclimatization.
- Pay attention to your body’s signals; symptoms like headaches, nausea, and dizziness must be taken seriously.
- Avoid rushing; daily distances and elevation gains should match your fitness and experience.
- Stick to the established trails and avoid shortcuts, which can be hazardous.
- Be mindful of weather changes; monsoon season or early winter conditions can affect trail safety.
- Hiring local guides not only enriches your experience but also improves response times to emergencies.
Staying informed and prepared ensures your trek is not only memorable but also safe.
Mastering the Trek Trail
Understanding the Everest Base Camp route map and all its nuances takes much of the stress out of planning this iconic trek. Familiarizing yourself with the villages, trail stages, elevation challenges, and side exploration options can help you trek with confidence. Using a combination of physical maps, GPS tools, and local expertise keeps you on track while enjoying the stunning natural beauty and cultural richness of the Himalayas.
By respecting your limits, prioritizing safety, and pacing your ascent wisely, you’ll maximize the joy of standing at the foot of the world’s highest peak. Navigating the Everest Base Camp route is much more than a trek—it’s an inspiring journey of discovery, endurance, and awe.